How to use preview branches
The preview environment is special – you create branches from it. The branches you create live under the preview environment and have all the features you’re used to from other environments (like staging or production). That means you can trigger runs, have schedules, test them, use Realtime, etc.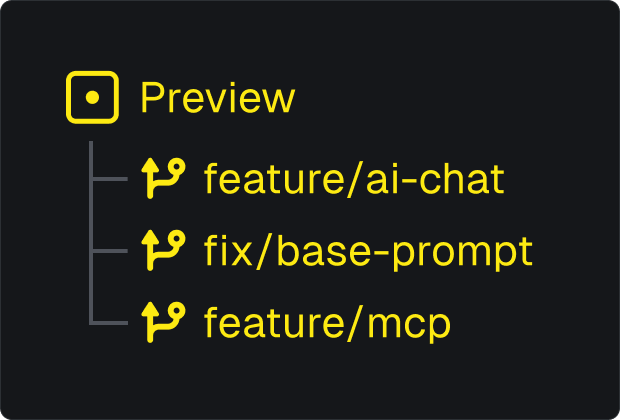
- Create a preview branch
- Deploy to the preview branch (1+ times)
- Trigger runs using your Preview API key (
TRIGGER_SECRET_KEY) and the branch name (TRIGGER_PREVIEW_BRANCH). - Archive the preview branch when the branch is done.
- Automatically: using GitHub Actions (recommended).
- Manually: in the dashboard and/or using the CLI.
Limits on active preview branches
We restrict the number of active preview branches (per project). You can archive a preview branch at any time (automatically or manually) to unlock another slot – or you can upgrade your plan. Once archived you can still view the dashboard for the branch but you can’t trigger or execute runs (or other write operations). This limit exists because each branch has an independent concurrency limit. For the Cloud product these are the limits:| Plan | Active preview branches |
|---|---|
| Free | 0 |
| Hobby | 5 |
| Pro | 20 (then paid for more) |
Triggering runs and using the SDK
Before we talk about how to deploy to preview branches, one important thing to understand is that you must set theTRIGGER_PREVIEW_BRANCH environment variable as well as the TRIGGER_SECRET_KEY environment variable.
When deploying to somewhere that supports process.env (like Node.js runtimes) you can just set the environment variables:
process.env (like some edge runtimes) you can manually configure the SDK:
Triggering across multiple branches from one process
If a single process needs to trigger runs in several preview branches (or a mix of prod and preview), usenew TriggerClient({...}) for each target instead of mutating global config. Each instance owns its own auth and branch.
Preview branches with GitHub Actions (recommended)
This GitHub Action will:- Automatically create a preview branch for your Pull Request (if the branch doesn’t already exist).
- Deploy the preview branch.
- Archive the preview branch when the Pull Request is merged/closed. This only works if your workflow runs on closed PRs (
types: [opened, synchronize, reopened, closed]). If you omitclosed, branches won’t be archived automatically.
.github/workflows/trigger-preview-branches.yml
TRIGGER_ACCESS_TOKEN: A Trigger.dev personal access token (they start withtr_pat_). Learn how to create one and set it in GitHub.
--env preview at the end. We automatically detect the preview branch from the GitHub actions env var.
You can manually specify the branch using --branch <branch-name> in the deploy command, but this isn’t required.
Preview branches with the CLI (manual)
Deploying a preview branch
Creating and deploying a preview branch manually is easy:Archiving a preview branch
You can manually archive a preview branch with the CLI:--branch <branch-name>.
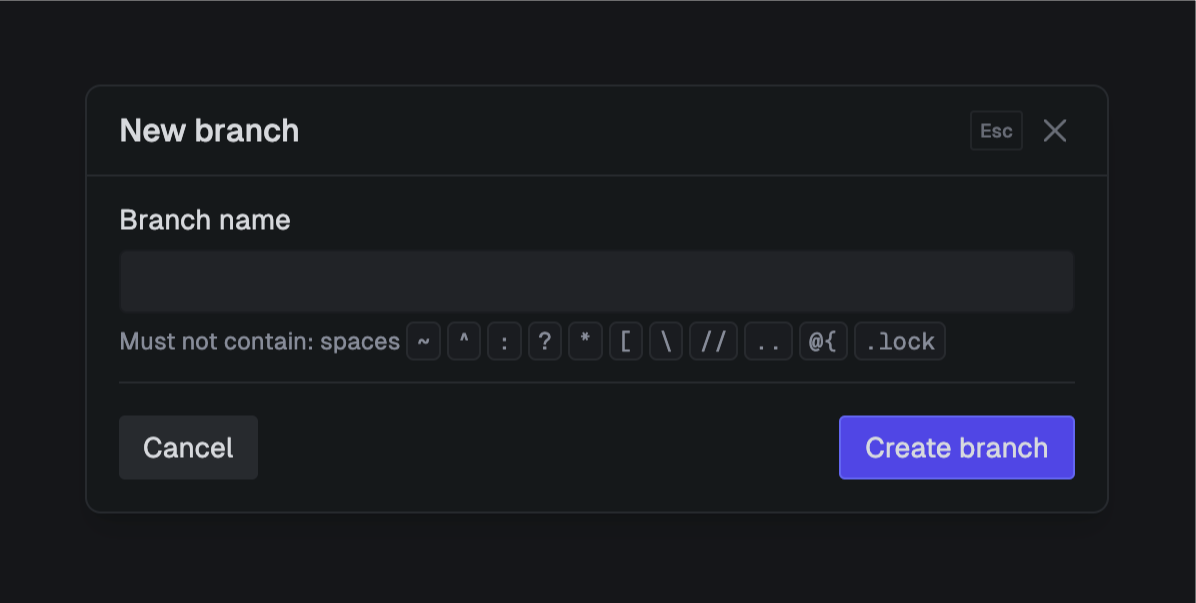
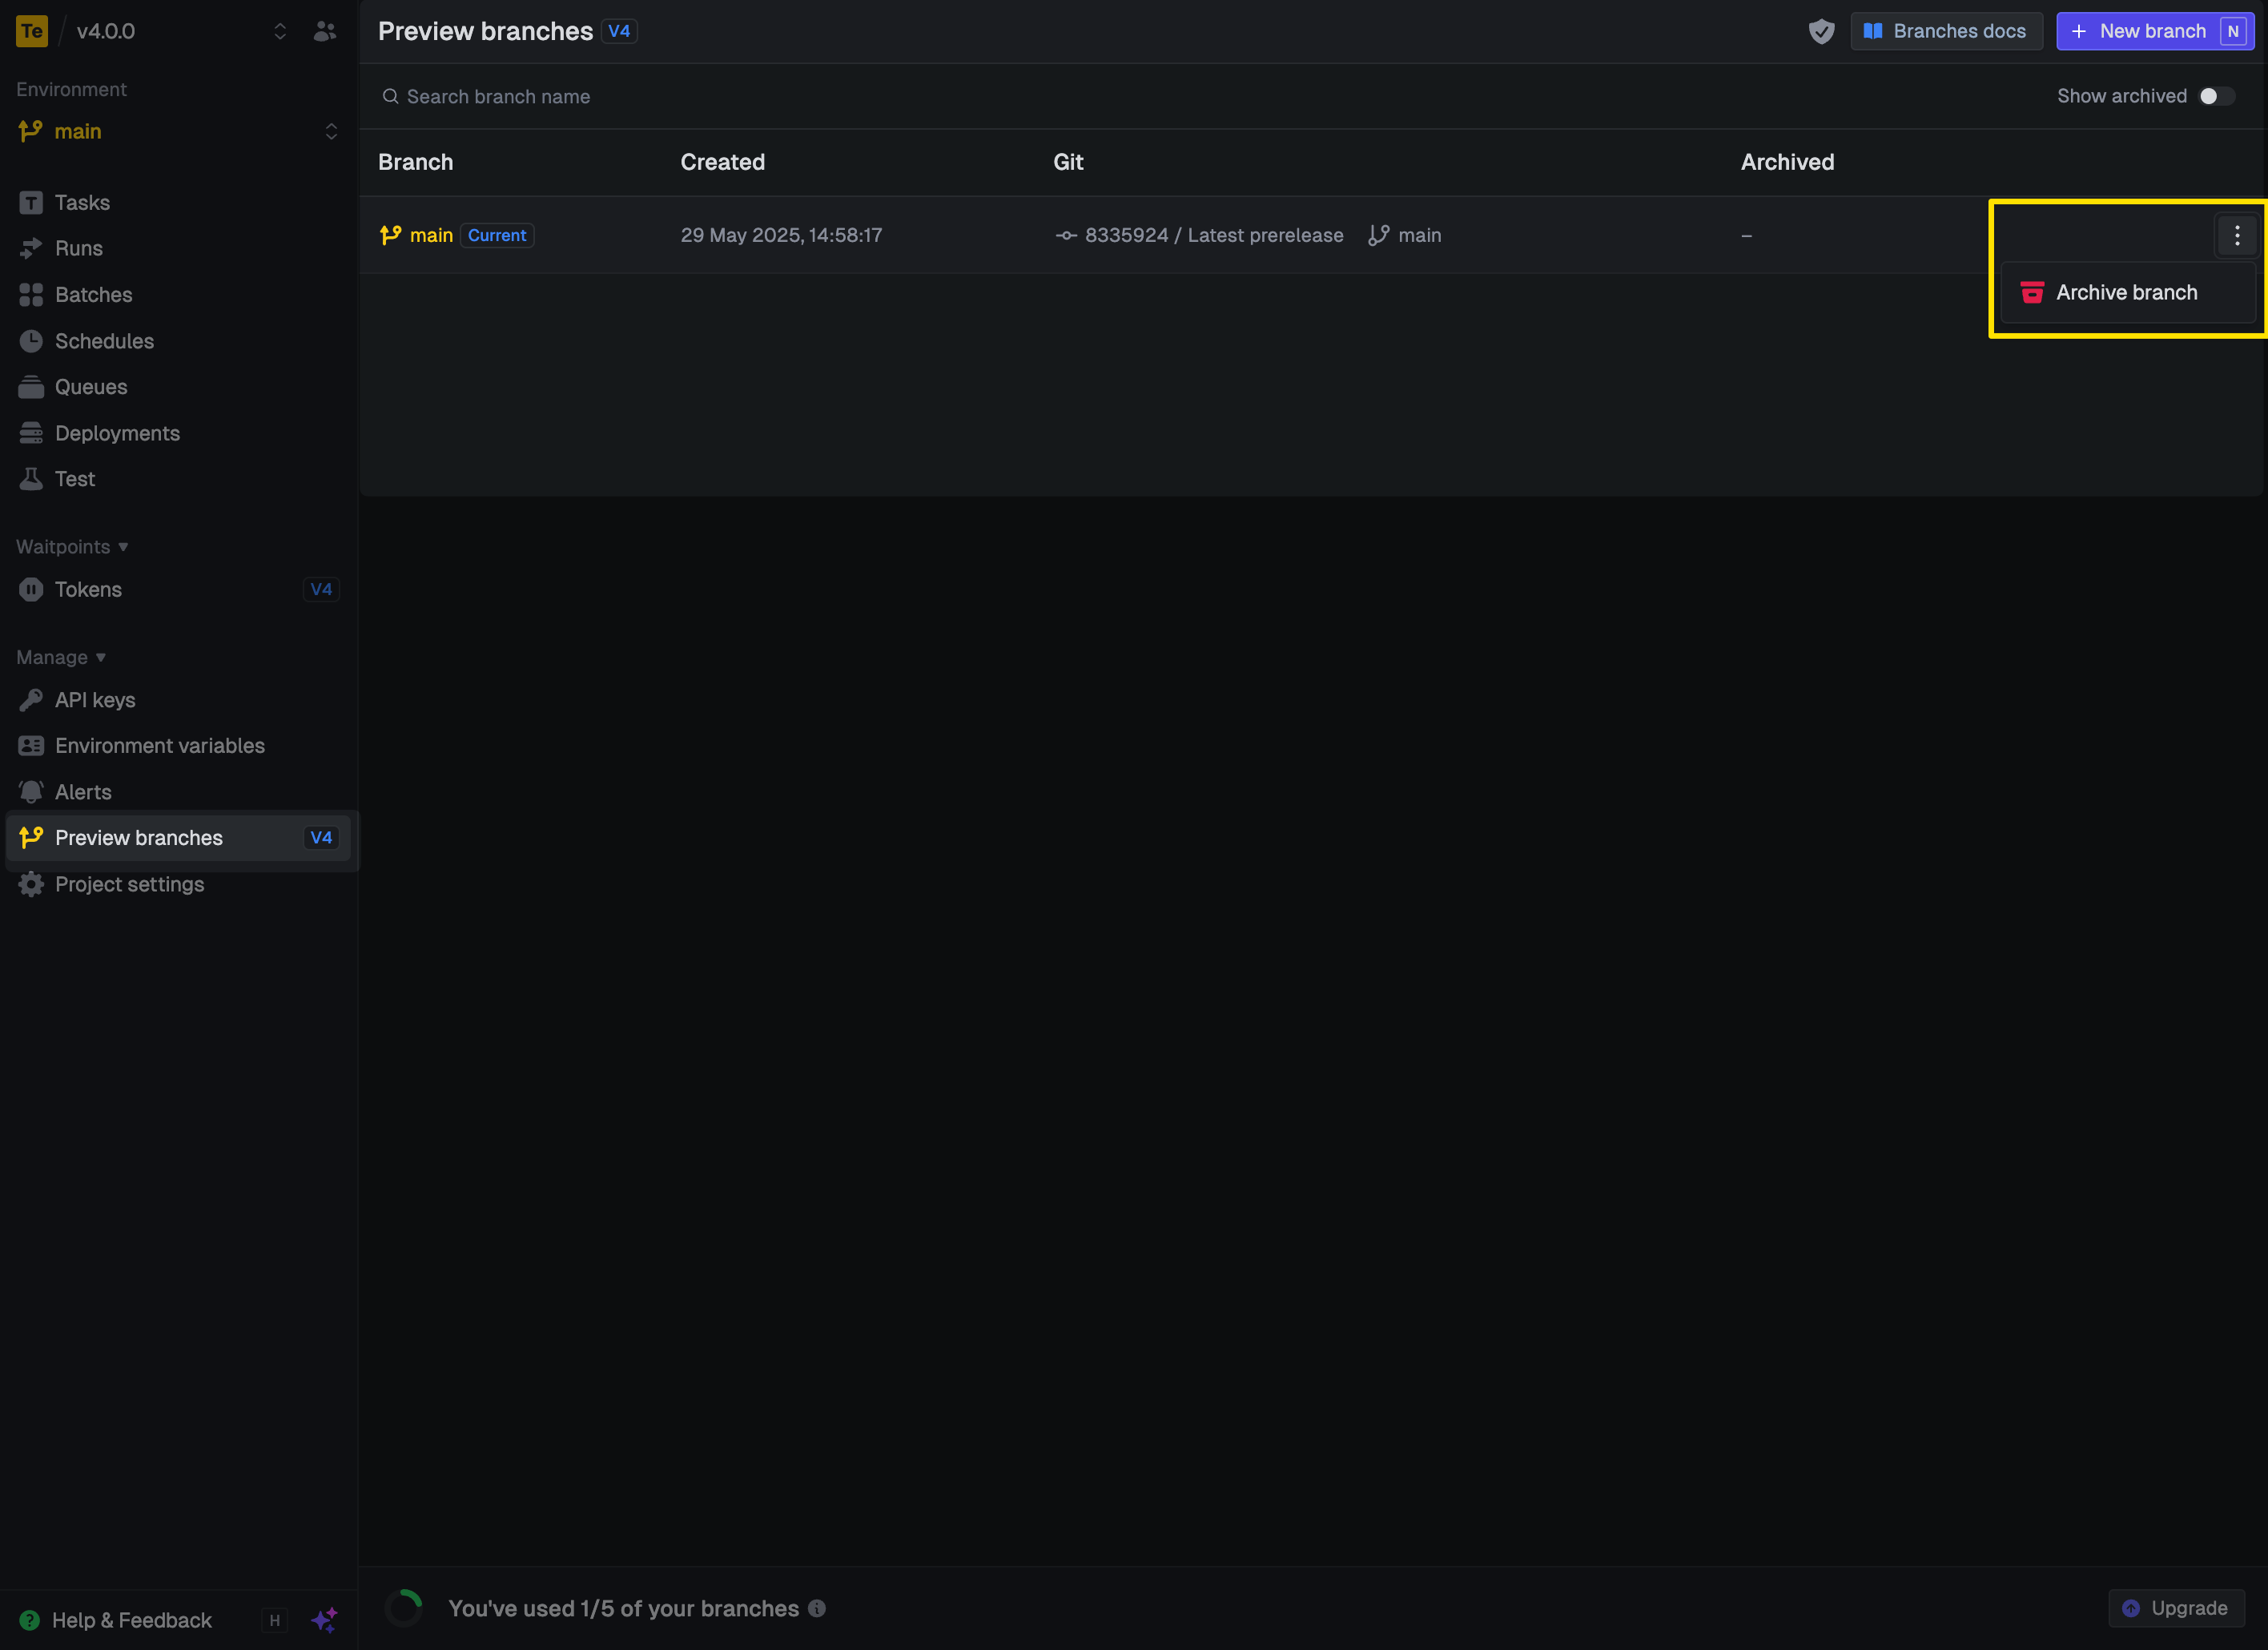
Creating and archiving preview branches from the dashboard
From the “Preview branches” page you can create a branch: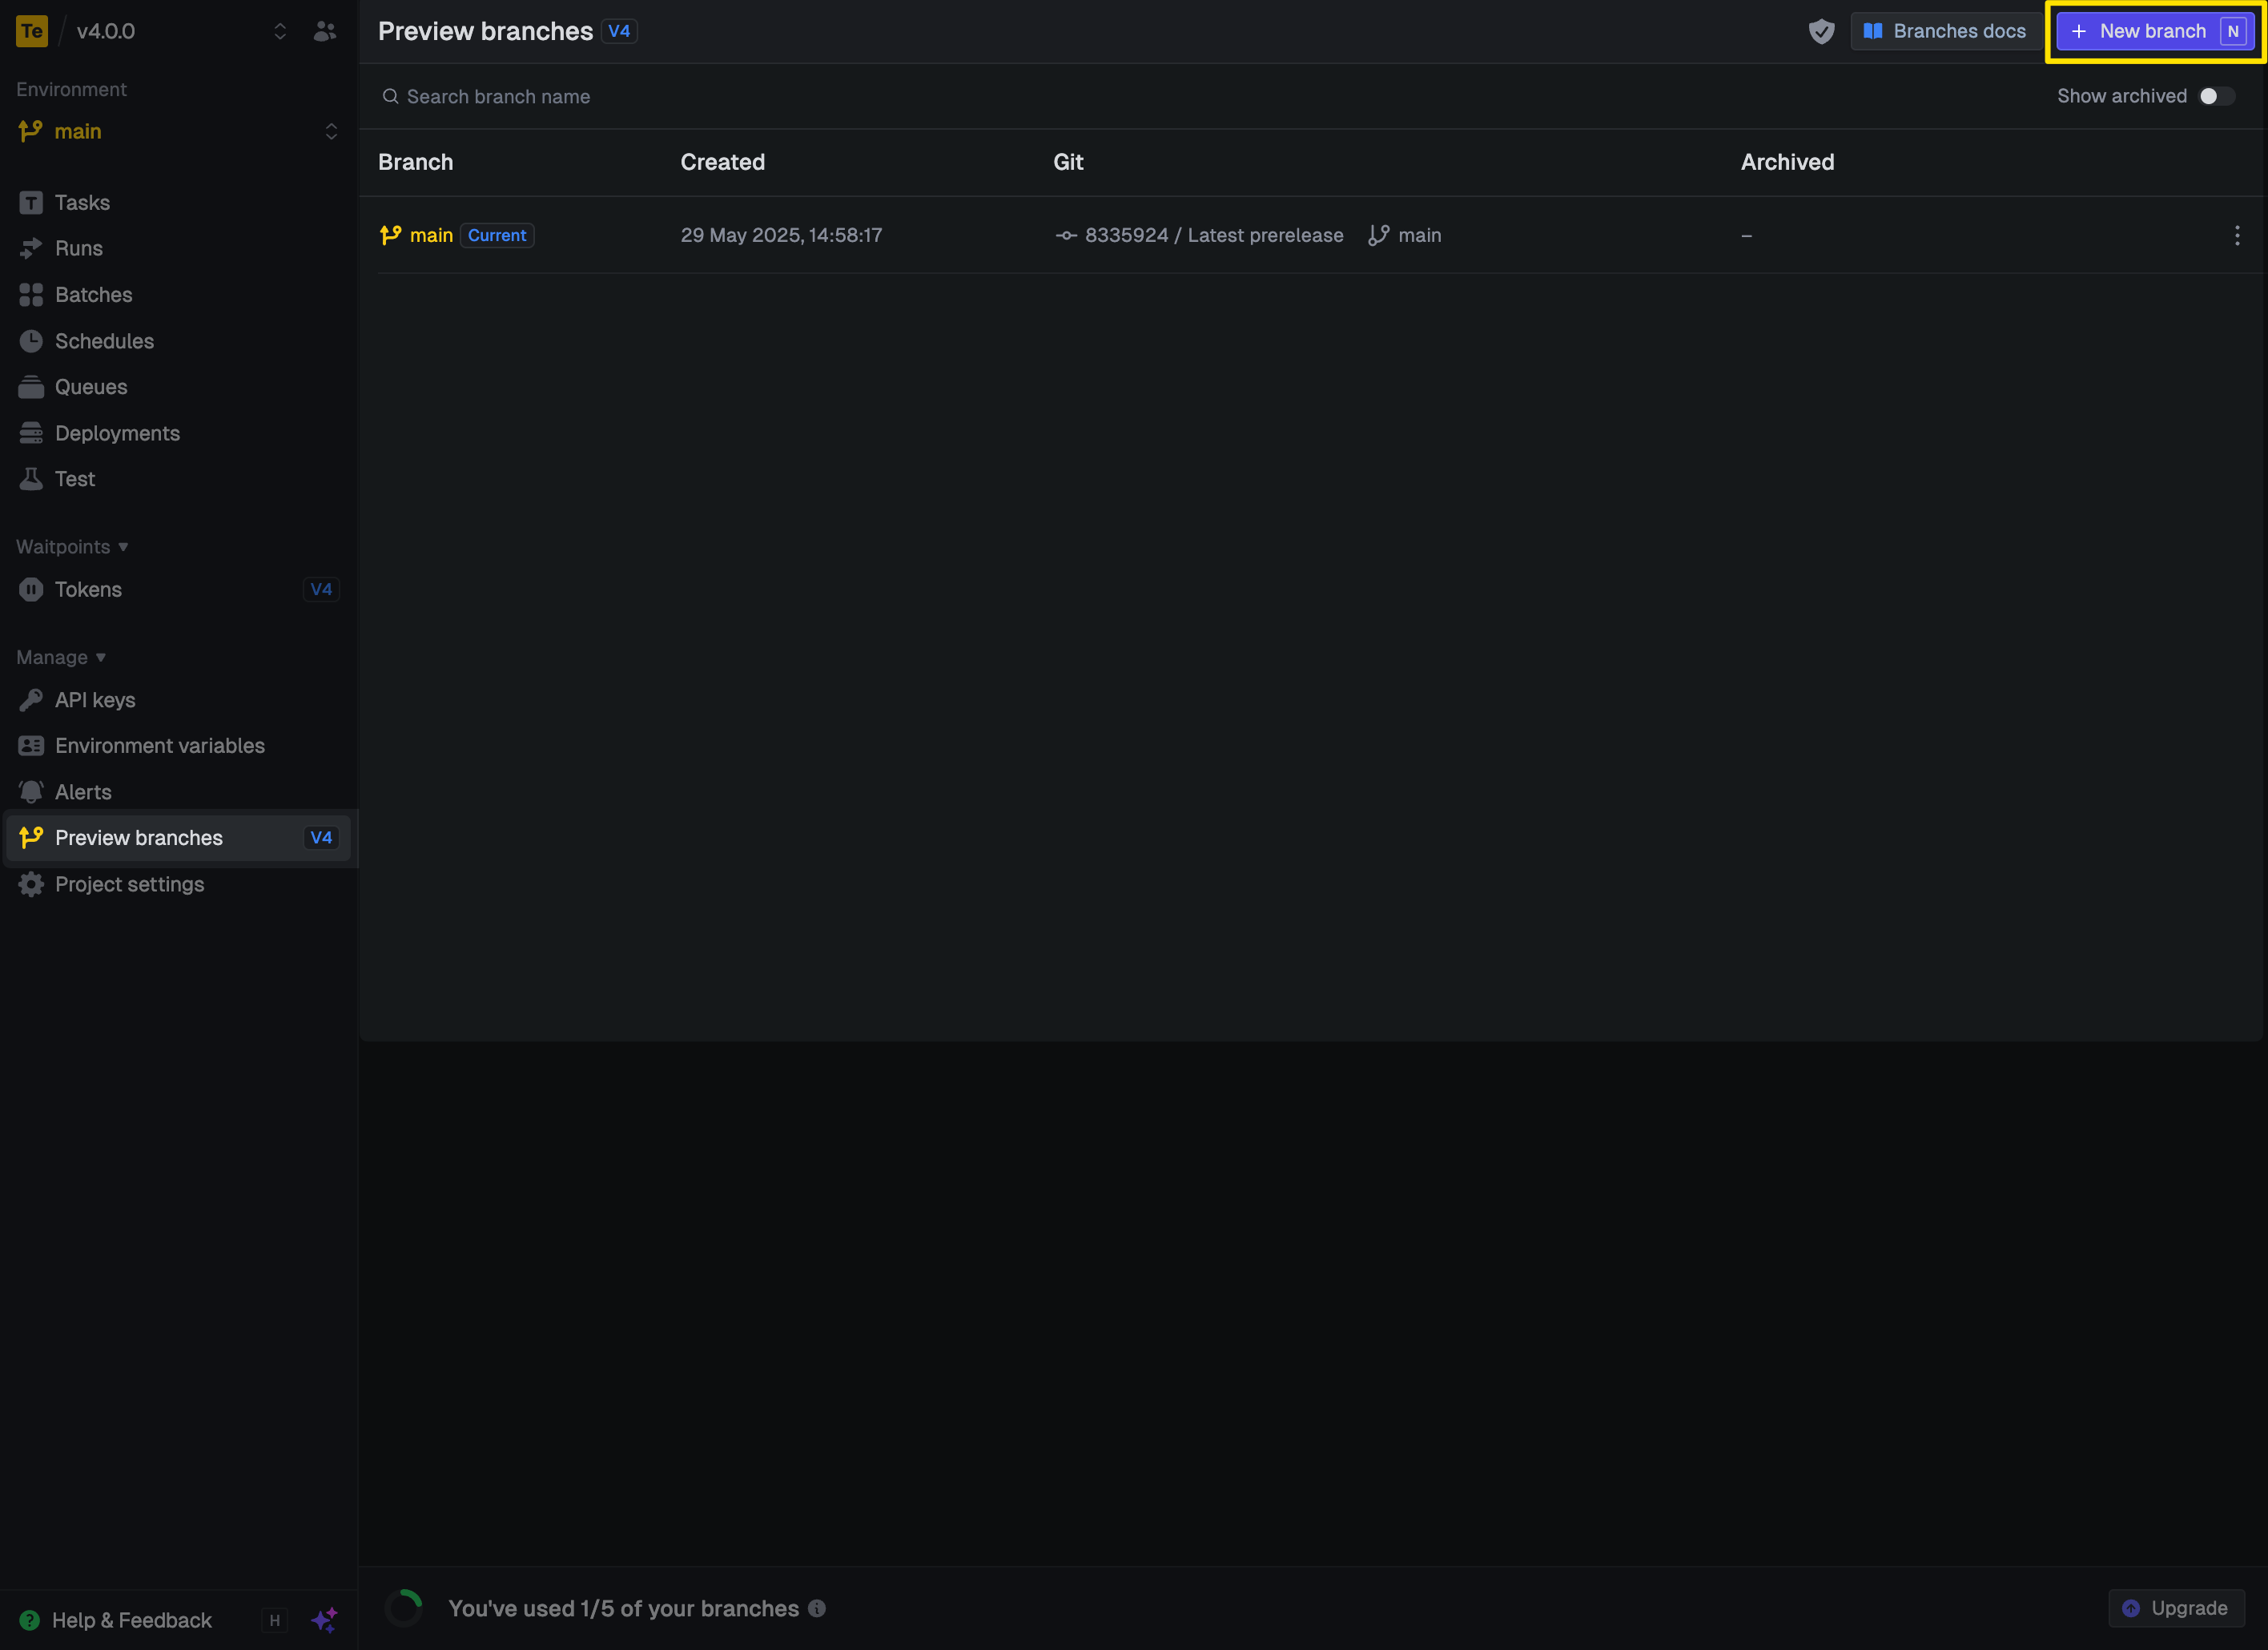
Environment variables
You can set environment variables for “Preview” and they will get applied to all branches (existing and new). You can also set environment variables for a specific branch. If they are set for both then the branch-specific variables will take precedence.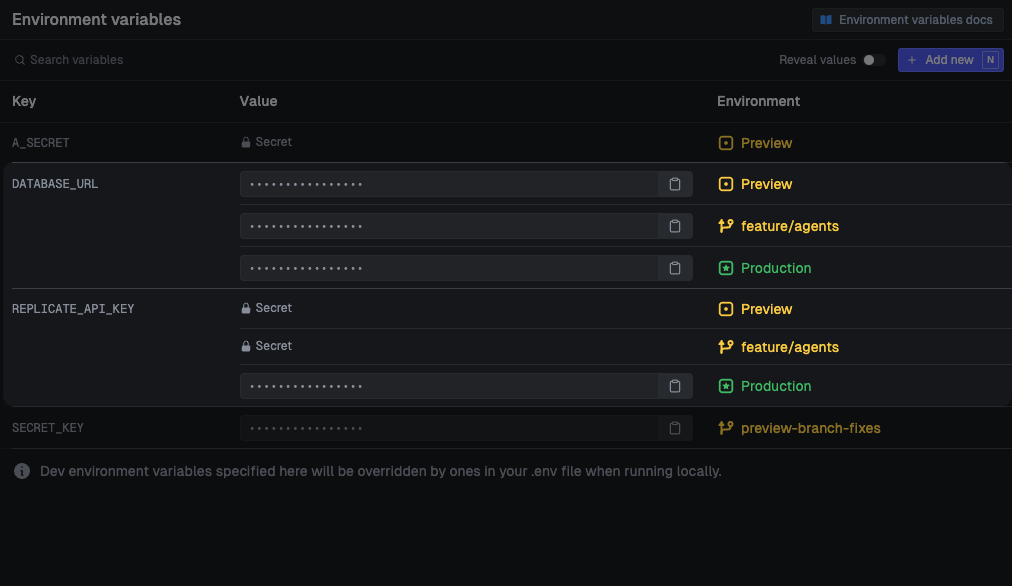
Sync environment variables
Full instructions are in the syncEnvVars() documentation.trigger.config.ts
Sync Vercel environment variables
You need to set theVERCEL_ACCESS_TOKEN, VERCEL_PROJECT_ID and VERCEL_TEAM_ID environment variables. You can find these in the Vercel dashboard. Full instructions are in the syncVercelEnvVars() documentation.
The extension will automatically detect a preview branch deploy from Vercel and sync the appropriate environment variables.
trigger.config.ts